

The Complete Guide to Repairing Cracked or Broken Plastic Parts
Introduction
Plastic items are everywhere in our daily lives, from household appliances to automotive parts, toys, and electronics. When these items crack or break, many people assume they need to be replaced entirely. However, with the right techniques and materials, most plastic repairs are not only possible but can be incredibly durable and cost-effective.
Understanding Different Types of Plastic
Before attempting any repair, it's crucial to identify the type of plastic you're working with. Look for recycling codes (numbers 1-7 inside the recycling symbol) on the item:
- PET/PETE (#1): Common in bottles and containers
- HDPE (#2): Milk jugs, detergent bottles
- PVC (#3): Pipes, vinyl siding
- LDPE (#4): Plastic bags, squeeze bottles
- PP (#5): Yogurt containers, bottle caps
- PS (#6): Disposable cups, foam packaging
- Other (#7): Mixed plastics, often harder to repair
Essential Tools and Materials
Having the right supplies makes all the difference in achieving a professional-looking repair:
- Plastic welding pen or soldering iron with plastic welding tips
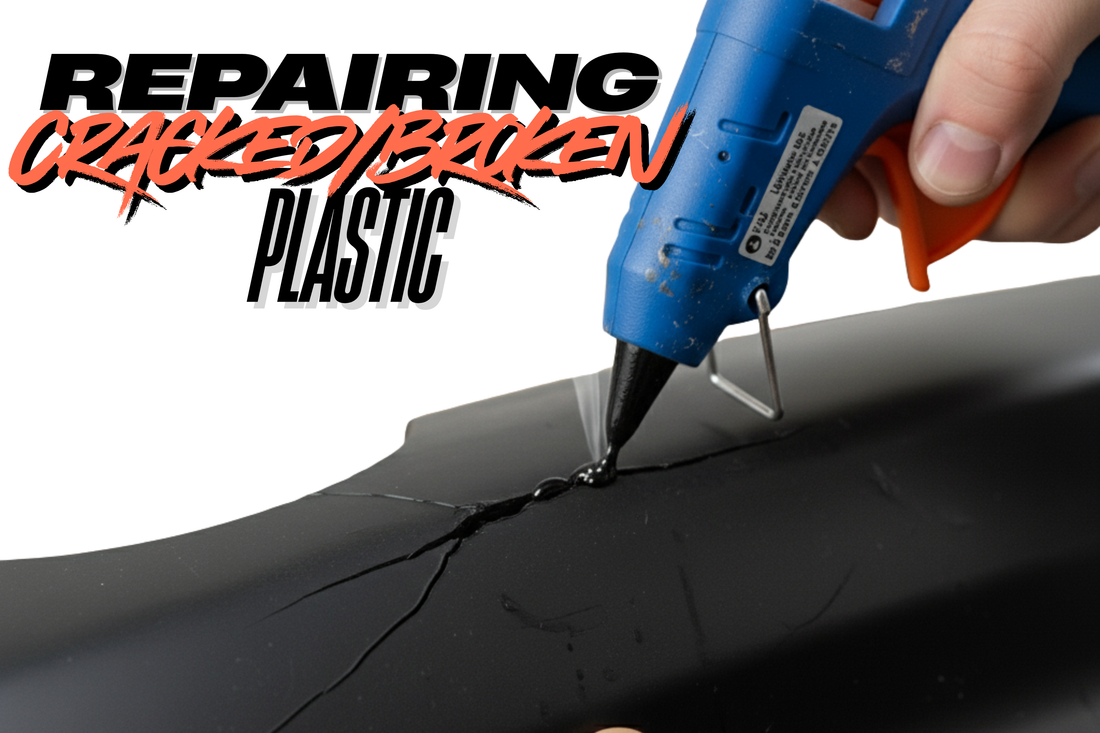
- Hot Glue Gun and Glue Gun Repair Sticks
- Plastic repair adhesives (epoxy, cyanoacrylate, or plastic-specific glues)
- Sandpaper (various grits from 220 to 600)
- Cleaning supplies (isopropyl alcohol, degreaser)
- Plastic filler or putty
- Heat gun or hair dryer
- Clamps or tape for holding pieces
- Safety equipment (gloves, eye protection, ventilation)

Method 1: Plastic Welding
Best for: Thick plastic parts, structural repairs
- Clean the area: Remove dirt, grease, and loose debris from the crack
- Prepare the surface: Lightly sand around the crack to create better adhesion
- Heat the plastic: Use a plastic welding pen to melt the edges of the crack together
- Add filler material: Use plastic welding rods of the same material type
- Smooth the repair: While still warm, shape the melted plastic
- Sand and finish: Once cooled, sand smooth and paint if needed
Method 2: Adhesive Bonding
Best for: Small cracks, thin plastics, quick fixes
- Clean thoroughly: Use isopropyl alcohol to remove all contaminants
- Test fit: Ensure pieces align properly before applying adhesive
- Apply adhesive: Use appropriate glue for your plastic type
- Clamp or hold: Maintain pressure according to adhesive instructions
- Allow full cure: Don't stress the joint until completely cured
- Sand and finish: Remove excess adhesive and smooth the surface

Method 3: Mechanical Reinforcement
Best for: High-stress areas, permanent repairs
- Drill pilot holes: On both sides of the crack
- Install fasteners: Use screws, rivets, or plastic clips
- Add backing plate: Use a piece of similar plastic as reinforcement
- Seal gaps: Apply flexible sealant around the repair
- Test strength: Gradually apply stress to ensure repair holds
Advanced Techniques
Heat Staking
For joining dissimilar plastics or adding threaded inserts, heat staking uses controlled heat and pressure to create mechanical bonds.
Ultrasonic Welding
Professional technique using high-frequency vibrations to create molecular bonds between plastic surfaces.
Chemical Welding
Uses solvents to temporarily soften plastic surfaces, allowing them to fuse together as the solvent evaporates.
Common Mistakes to Avoid
- Rushing the cleaning process: Contaminated surfaces lead to weak bonds
- Using wrong adhesive type: Not all glues work with all plastics
- Applying too much heat: Can warp or damage surrounding areas
- Insufficient curing time: Premature stress can cause repair failure
- Ignoring safety: Always use proper ventilation and protective equipment
When to Replace vs. Repair
Consider replacement when:
- The item is safety-critical (car parts, protective equipment)
- Repair costs exceed replacement costs
- Multiple previous repairs have failed
- The plastic is severely degraded or brittle
Maintenance Tips for Repaired Items
- Avoid exposing repairs to extreme temperatures
- Regularly inspect repair areas for signs of stress
- Apply UV protection if the item will be outdoors
- Keep repair areas clean and dry
Conclusion
Repairing plastic items is both an environmentally responsible choice and a practical skill that can save money and extend the life of your belongings. With patience, the right materials, and proper technique, most plastic repairs can be nearly invisible and incredibly durable. Start with simple projects to build your confidence, and don't hesitate to seek professional help for critical or complex repairs.
Remember, the key to successful plastic repair is preparation, patience, and using the right method for your specific situation. Whether you're fixing a favorite household item or maintaining equipment, these techniques will serve you well.